What you'll do in this guide
In about ten minutes you set up a project, track your first time and see how it turns into earnings. By the end you know the whole flow:
- Create a project with the right project type
- Start, pause and save a timer
- Check the entries in the list and in the review
- For Hourly projects: create your first payout
Tip The “Getting started” checklist on the dashboard also leads you to “Create a project” and “Start your first timer” and ticks both off once they are done.
Create the project
Open Projects
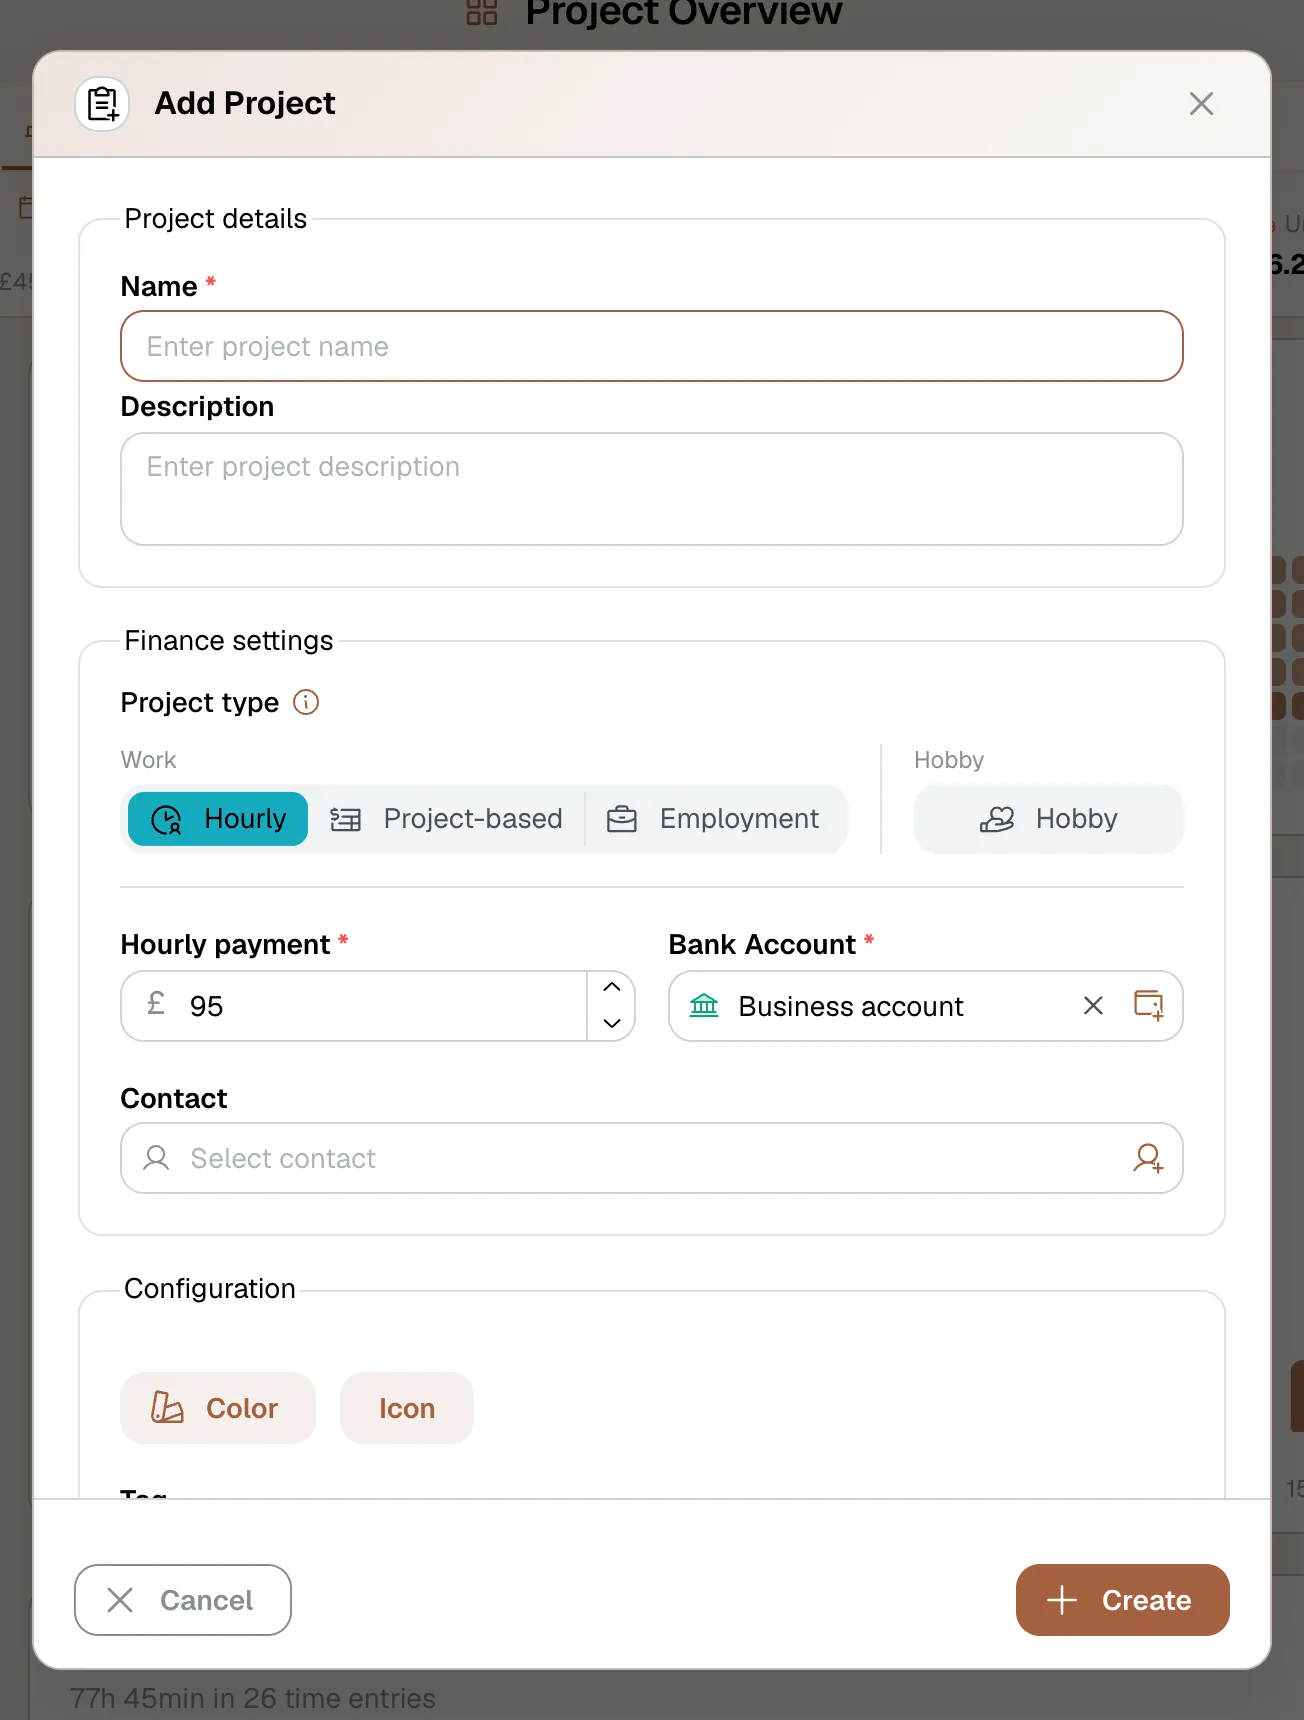
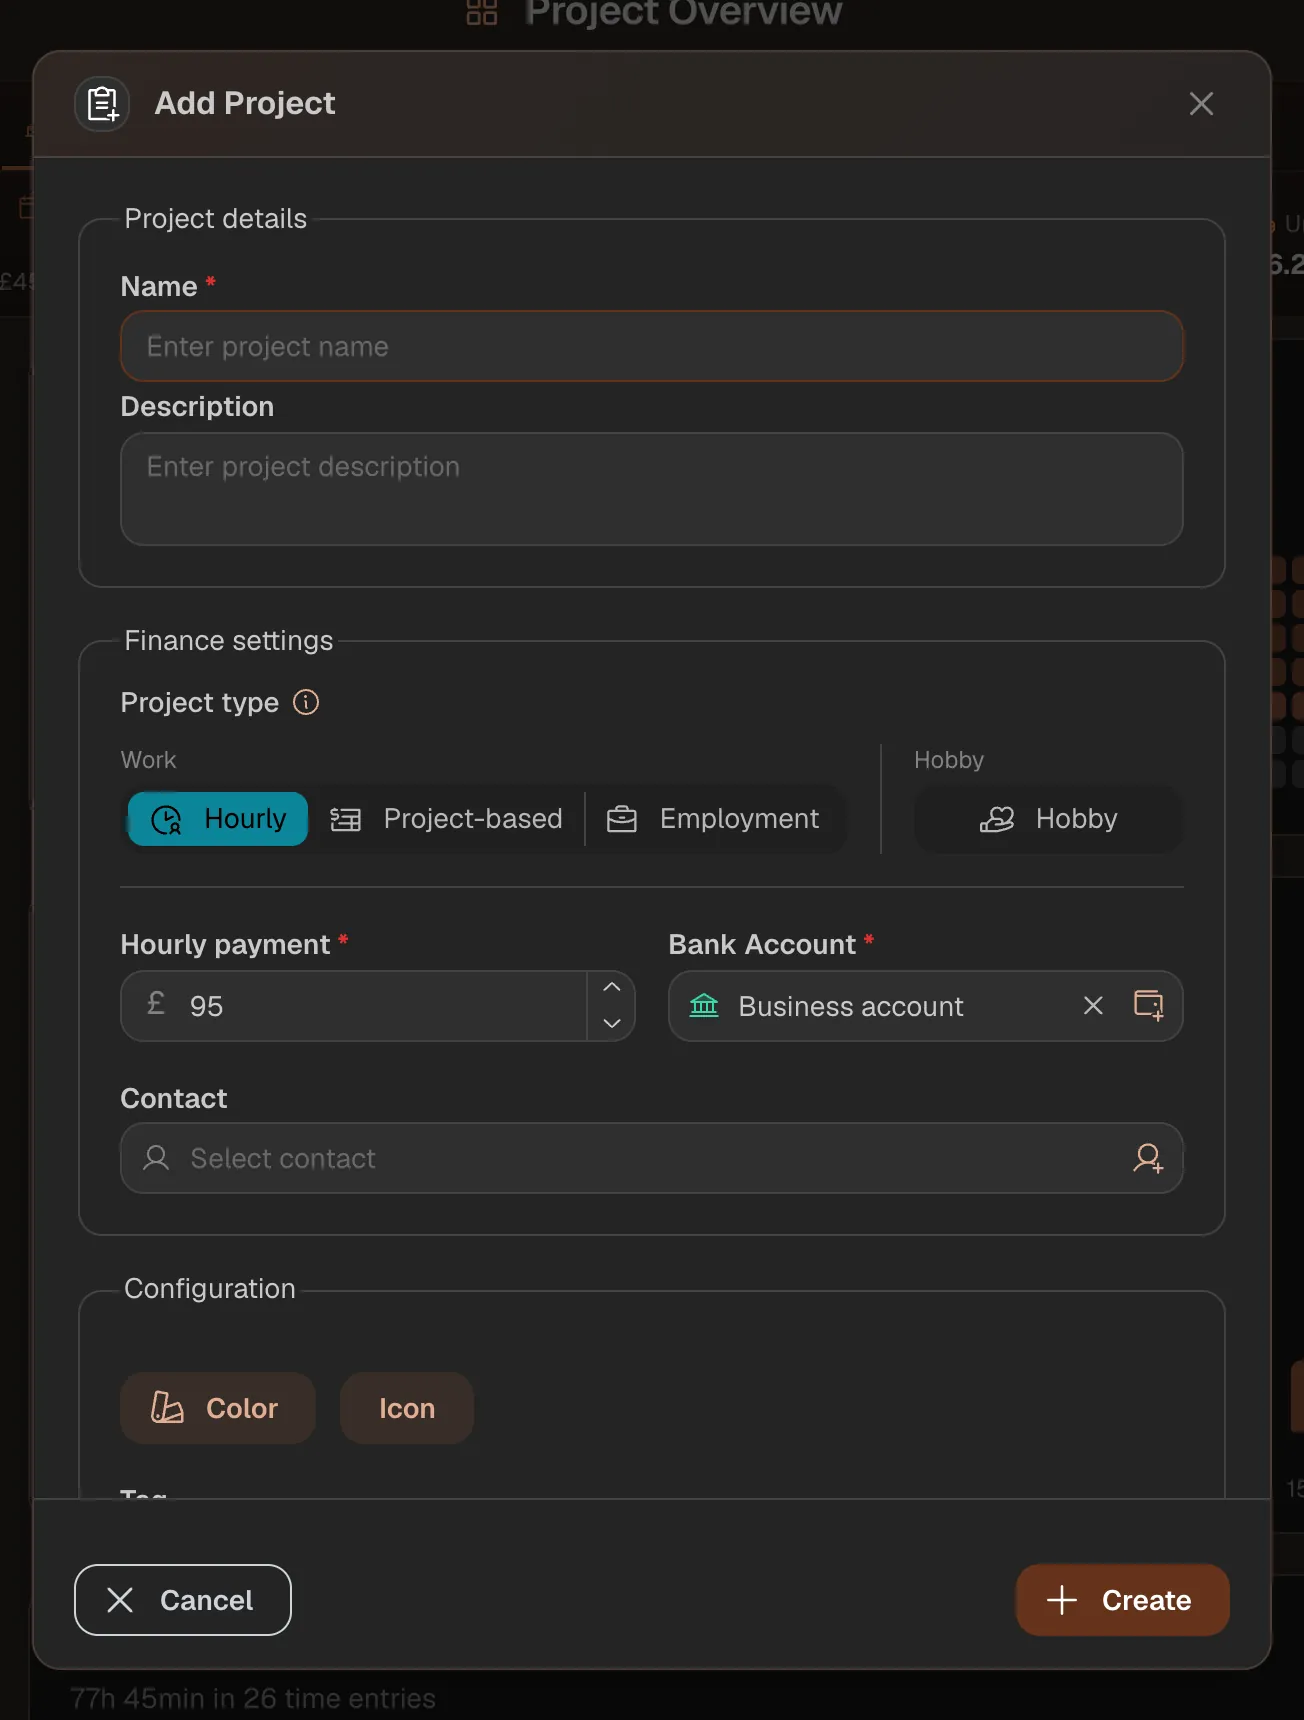
Open the Projects module from the navigation. If you chose “Track time” during setup, you are already there. Click the plus “Add project” in the sidebar, or “Create First Project” in the empty overview.
Tip From the keyboard: G then W opens Projects, N creates a project there. ? shows all shortcuts.
Choose the project type
The most important decision is the “Project type”. It sets how your time turns into money and cannot be changed later:
- Hourly: you are paid by the hour. Enter your hourly payment and choose a bank account; the account sets the currency.
- Project-based: you get a fixed amount. Link an existing finance project, or enter the “Project Salary” and a new one is created.
- Employment: you get a monthly salary. Set it up with monthly salary, payday, start date and bank account, or pick an existing salary.
- Hobby: unpaid work. No rate, no bank account, just time tracking.
Tip Choose the type by how you are actually paid. A flat-fee job is Project-based, even if you want to count the hours.
Add details and save
Give the project a name and save. These details are optional and can be changed any time:
- Name: specific and unique, for example “Website relaunch – ACME Ltd”.
- Color and icon: shown in the project tree, the calendar and on the timer.
- Default Time category: for example Deep Work for focused work. Your timers in this project start with it.
- Tag and contact: for filtering; you choose the contact, such as your client, with the money details.
- Folder: later, drag the project into a folder in the project tree. You can skip this at first.
Track time
Start your first timer
Click “Time tracking” at the top right. Choose your new project under “Track a project”, start the timer and jot down what you are working on.
- You reach the cockpit from every page. On wide screens you can pop it out as a window; in the Mac app it also sits in the menu bar.
- Use “Mark favorite” on the project and it will be at the top from now on.
- When you take a break, press “Pause” and then “Resume”. The break is recorded and not booked as work.
Save the timer
Done? Click “Save timer”. It becomes a time entry in your project, rounded by your rules. If the time overlaps another entry, Self-Engine asks how you want to record it.
Tip Forgot the break? Save anyway and add the break to the entry as a phase afterwards. “Cancel timer” would throw away all the measured time.


Note In the mobile apps, which are still in development, you start timers in the Timer tab instead of the header.
Check your entries
Open the list
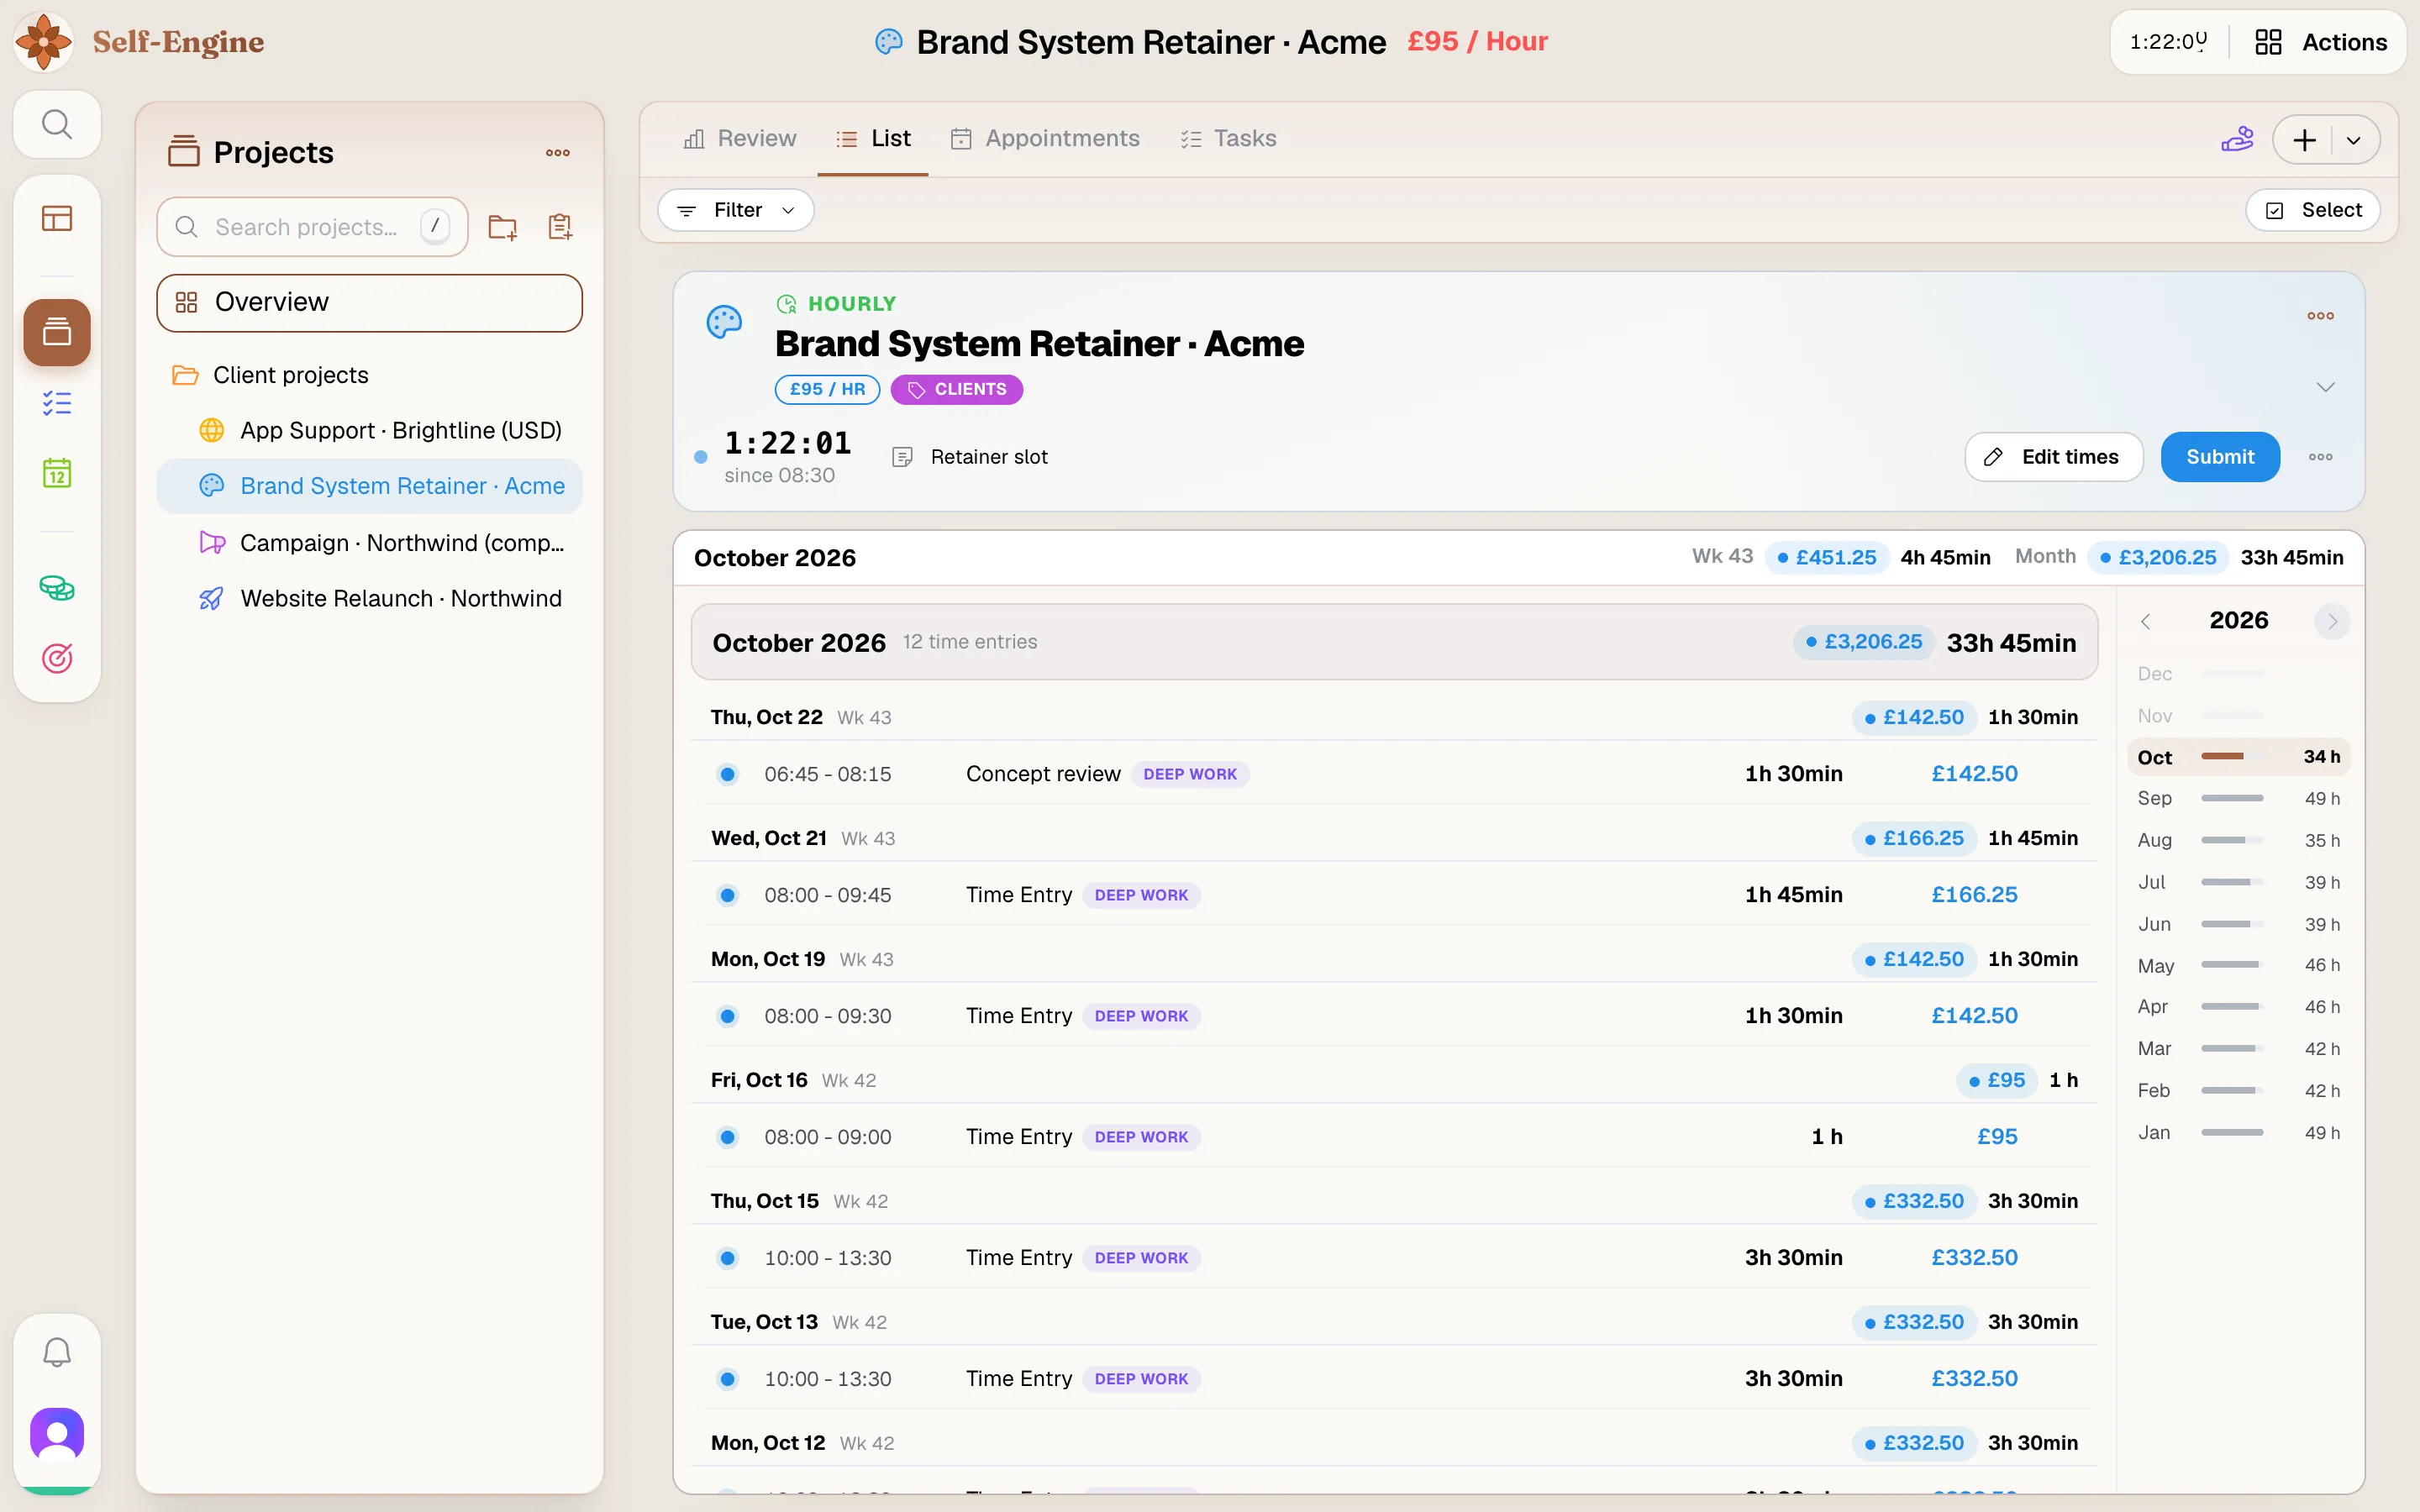
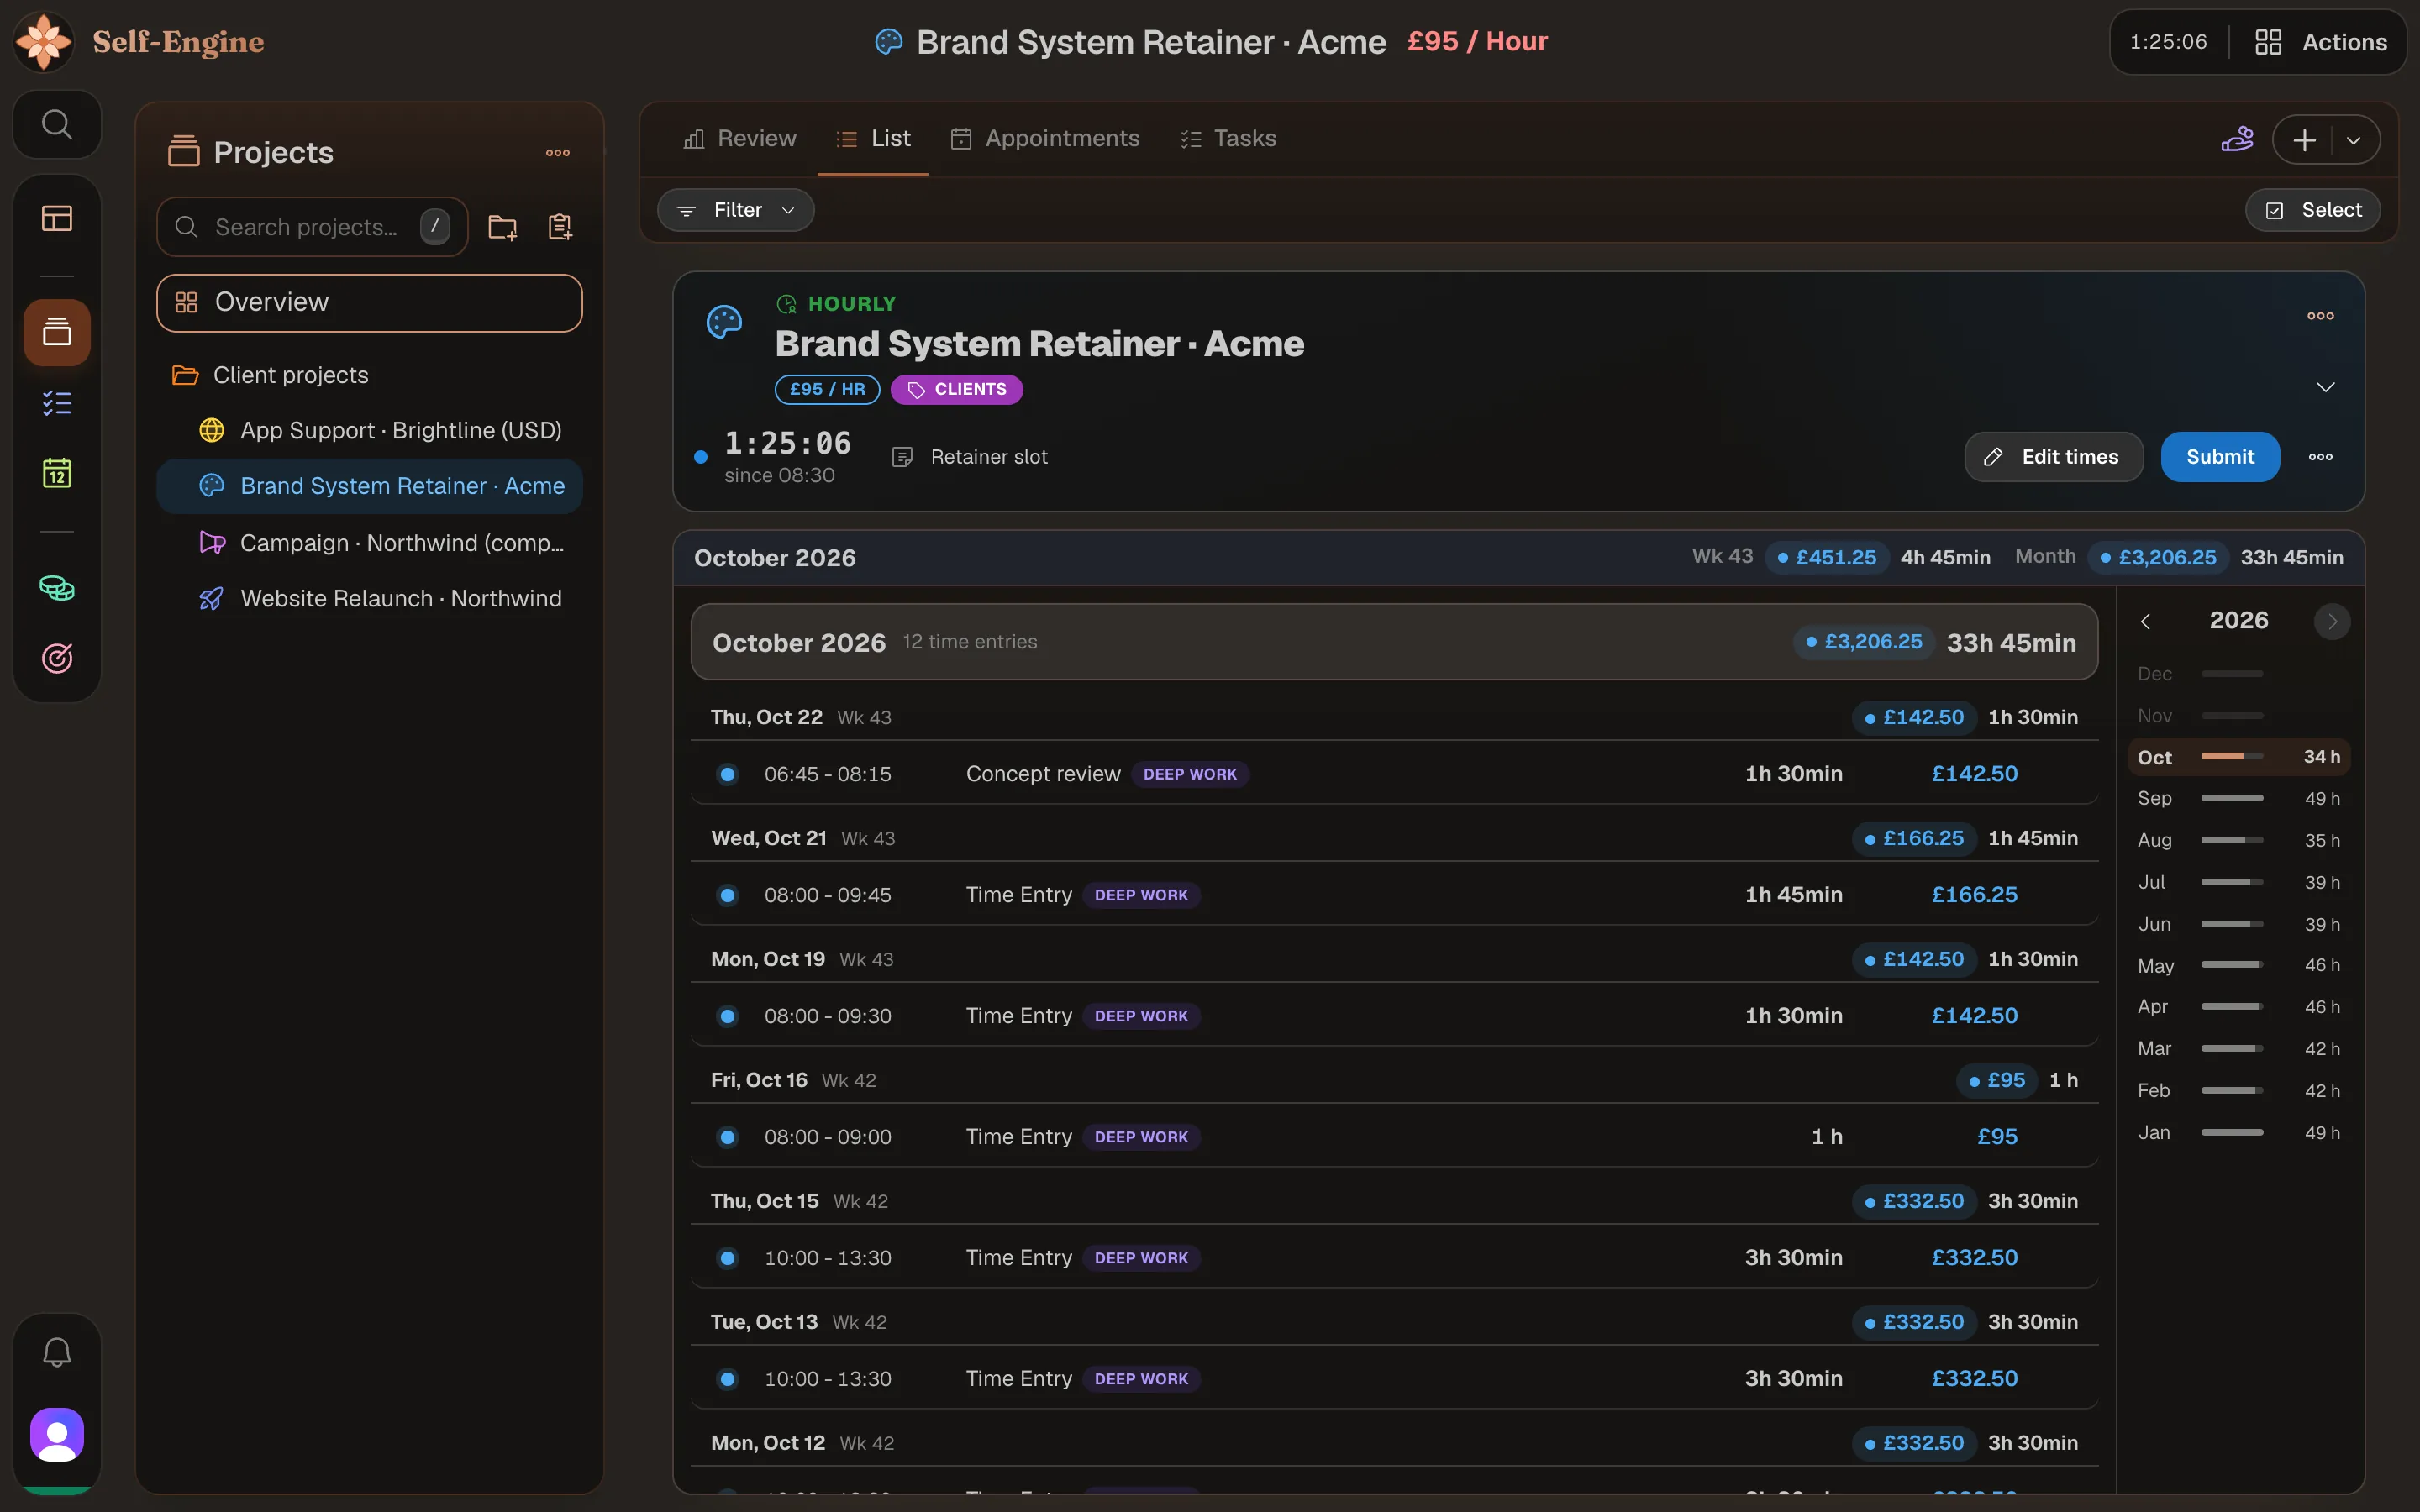
Open your project and switch to the “List” view. Each entry shows its interval, duration, memo and, for Hourly projects, the earnings.
- Click an entry to edit it, as long as it hasn't been paid.
- “Add Time entry” adds work for which no timer ran.
- In selection mode you delete several entries or pay them out.
Look at the review
The “Review” view shows your activity over the year, your typical working hours and the last 30 days compared with the 30 before. After a few days of tracking it becomes meaningful.
Turn time into money
Create your first payout
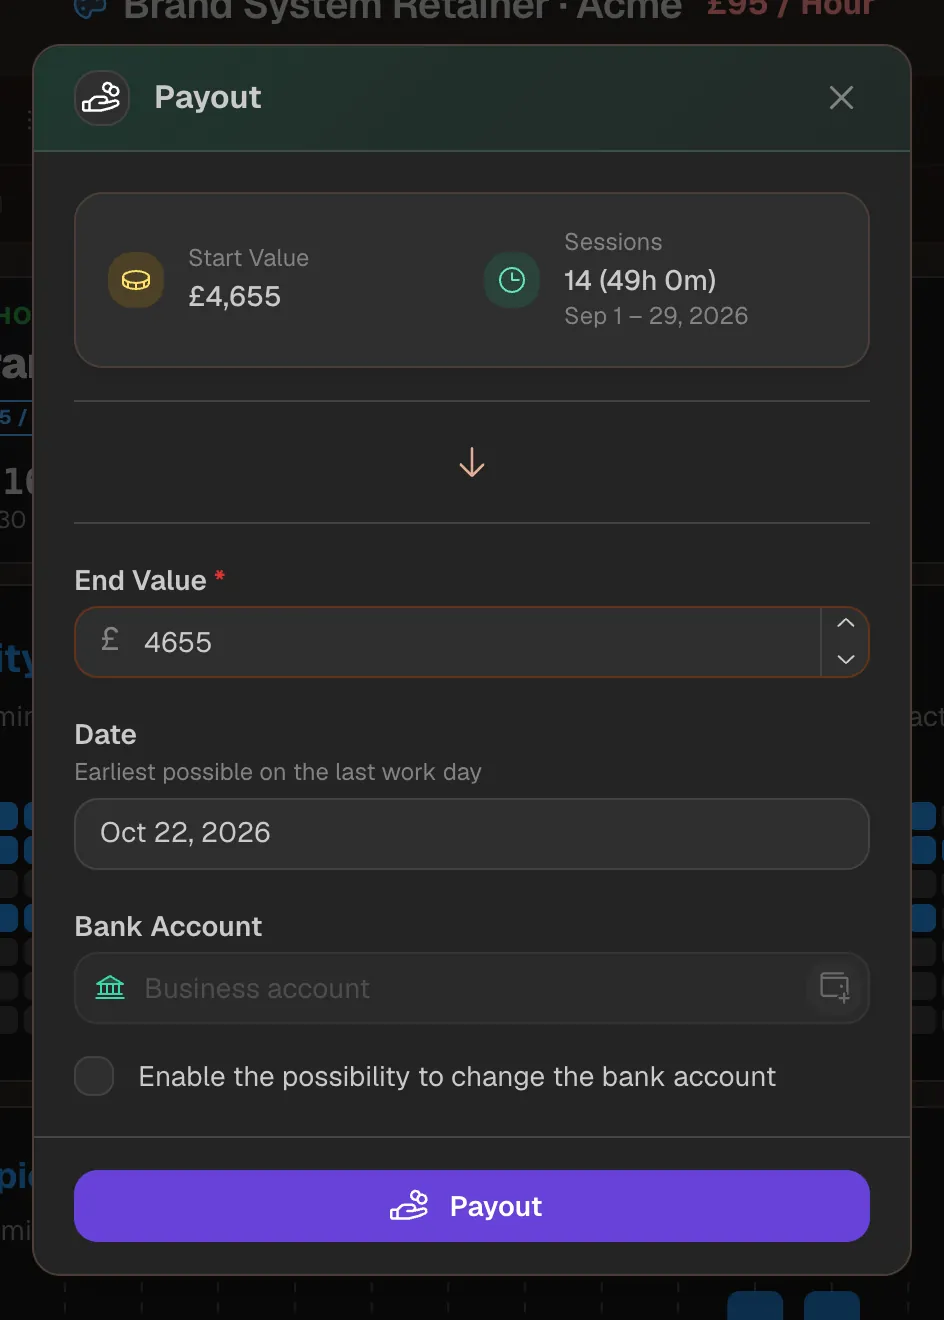
For Hourly projects, unpaid work adds up. In the project, click “Payout” → “Quick Payout” and choose “All time”, “This month” or “Last month”.
- Check the “Start Value”, enter what actually arrived as the “End Value”, choose the date and bank account and click “Payout”.
- The payout is pending at first and is confirmed as soon as you are online. It then appears in Finance → Payouts, and the entries are paid and locked.

Tip Project-based? Then you pay out through the linked finance project. Employment? Your salary arrives as recurring income in Finance. Hobby? There is nothing to pay out.
Note You create payouts on the web or in the Mac app.
Next steps
Your first project is up and running. Here is what to try next:
- Create more projects and arrange them in folders in the project tree.
- Adjust your categories in Settings → Work → Time categories, for example for meetings.
- Set up your rounding in Settings → Work → Time Tracker. Rest breaks are always subtracted first.
- Try Pomodoro for focused sessions and pick a focus category such as Deep Work for it.
- Plan work in the calendar and start the timer right from the appointment with “Start now”.
- Read the “Time tracking” guide for breaks, shared time, rounding and overlaps.